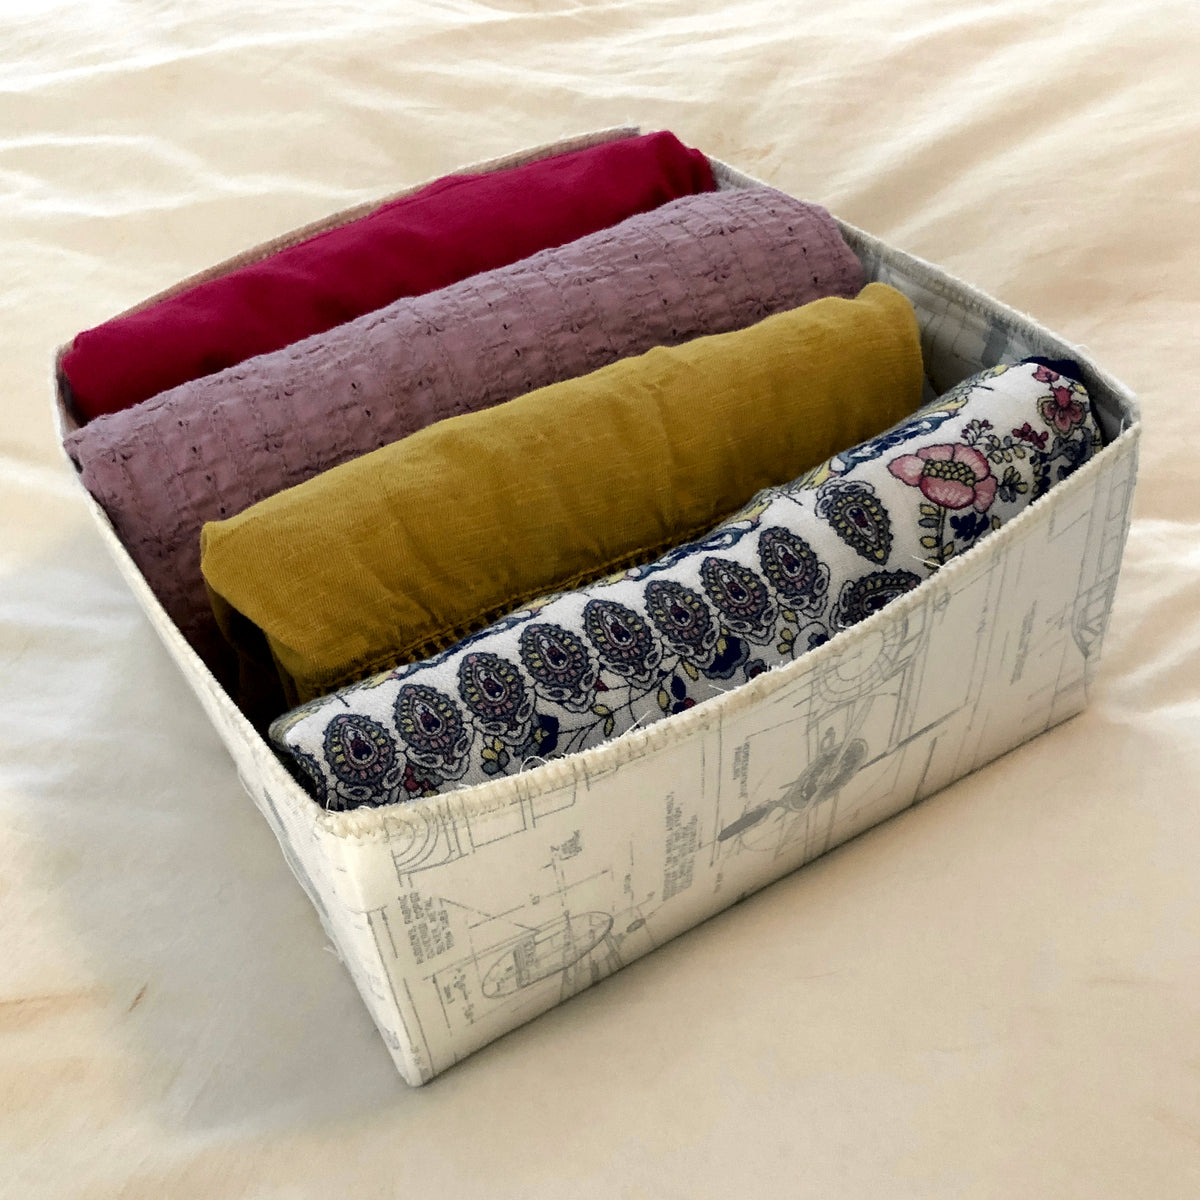
Spark Joy! Make fabric boxes for organizing today!


If you've been watching "Tidying Up with Marie Kondo" on Netflix, you might be as fascinated I am with a new-found love of organizing drawers and closets. Marie often brings small boxes to help her clients tidy their lives, but I thought it would spark joy for me to make my own! This tutorial will teach you how to create your own organizing boxes. Make as many as you'd like, in any size you need. They're machine washable and very durable too.
This tutorial will be for an 8" box with 4" tall sides. You can customize the directions below for other sizes, but this is a nice size to start with, as it fits the side of your machine well when finishing the edges and is easily handled during the process.
What you'll need:
2 fat quarters or 1/2 yard of cotton fabric (match outside and inside fabrics or mix it up)
1/3 yard of Stiff Stuff Firm by Sew Lazy - available in the shop
Dritz Spray Adhesive or similar - available in the shop
Long straight pins (I like Flower Head Pins)
Rotary cutter and mat, scissors for trimming threads
Sewing machine with matching or contrasting thread
Step 1: Prepare interfacing and fabrics
Cut 2 pieces of fabric 16" x 16" each
Cut Stiff Stuff:
Cut 1: 8" x width of interfacing (which is about 20 1/2")
Sub-cut this 8" strip into one 8" square and three 4" x 8" rectangles
Cut 1: 4" x WOF
Sub-cut this 4" strip into one 4" x 8" rectangle

Step 2: Position interfacing and stick
On a cutting mat, lay one of your fabric pieces wrong side up. Carefully arrange the 5 interfacing pieces as shown below, with the 4 rectangles on the outer edges and the 8" square in the middle. There should be 4" squares of fabric showing on each corner. Once you are happy with the placement of the pieces, pick them up one and a time and using spray adhesive, spray one side of the interfacing piece and then stick it down to the fabric.

Once all of your interfacing pieces are stuck to the bottom fabric, spray the whole piece with spray adhesive, to prepare to add the top fabric. Roll up the top fabric, right side in (see photo) and then carefully unroll it and stick it to your box-sandwich as you unroll. If you get a wrinkle or don't like the placement, you can carefully pull the top fabric off and start again.

Check for pieces that might need a little more adhesive. Lift corners of your sandwich and spray more as needed.
Step 3: Sew the sandwich together
Carefully take your sandwich to your sewing machine. Start by sewing straight lines from corner to corner, making a large X across your sandwich. Next, using a 1/4" seam, sew around the perimeter of the sandwich.

If you fabrics did not line up as perfectly as you'd like, you can trim 1/8" around the edges after your sewing is done, to clean it up.
Step 4: Make the corners
Starting with a corner of the sandwich, pick it up and bring the triangle of un-interfaced fabric towards the center of the box. Once the two box sides are standing up, touching and are lined up, fold the triangle flush with one side, pin through all layers on the inside of the box, close to the corner, and then again at the edge of your triangle. Continue around the box. Each triangle should point in the same direction, so when you're done pinning, each side of the box will have one triangle on it.
Step 5: Finish the box
Using a straight stitch, sew 1/4" around the inside top edge of the box. Remove pins as you go. Next, use a large zig-zag stitch, satin stitch, or serger to finish the top edges of the box. I used a wide zig zag stitch and sewed around the box two times. You're done!

Optional ideas:
Add a dot of glue under your triangles to stick them flat to the inside of your box.
Add velcro strips to the outsides of your boxes to attach them side by side in your drawer.
Color code your boxes for different purposes.
Add appliqué or embroidery (before Step 4) to the front of boxes that will become closet storage, to label what's inside. If your box will change purposes (for example, twin sheets or queen sheets), add appliqué to two sides and spin the box to reflect the contents when its in the closet.
Measure your drawers and spaces to create boxes that fill your space and fit together perfectly! Remember to allow 1/8" extra per box in your calculations for the width of the box sides.
Tips and Tricks:
Don't make your box sides too tall, or it will be more difficult to use them. A good rule of thumb is that box side height should be half of the inside width.
Avoid dark fabrics for the insides of boxes, as it makes it more difficult to see the contents.
Use your leftover interfacing pieces to make smaller boxes for jewelry, "junk drawer" storage, or gift boxes.
Create a unique 2-part gift box by making the box top with short sides and just a little larger than the box bottom.

Enjoy!
- Julianne Walther, Owner of Cary Quilting Company
#konmari #organize #fabricbox #diy #quilting #storage #kondo

